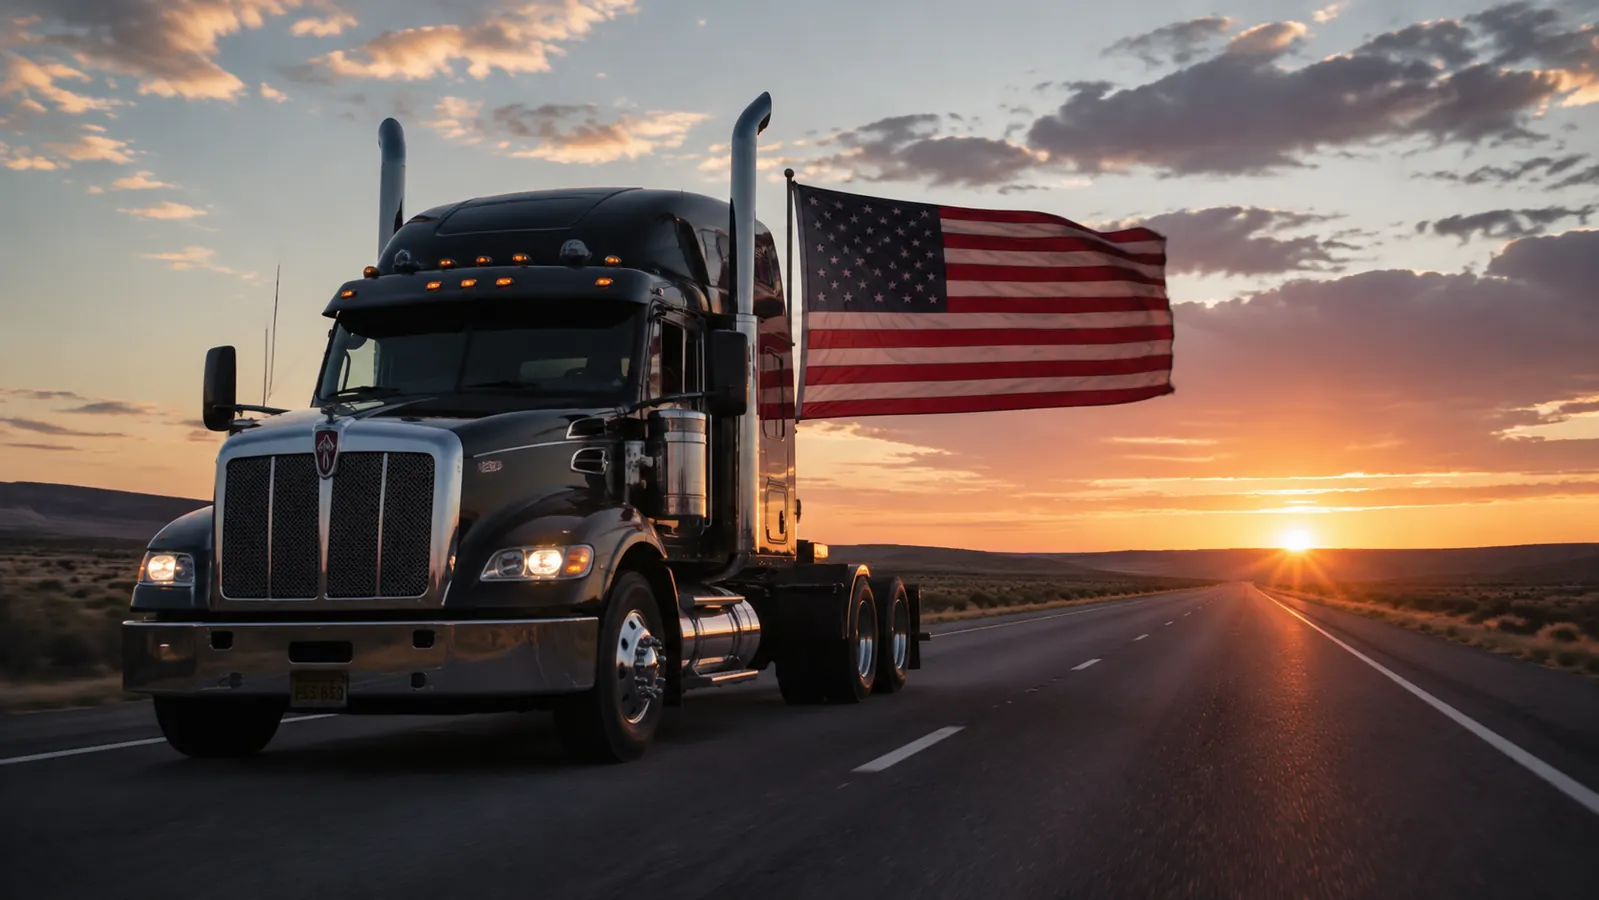
I have seen it at every truck stop from Laredo to Bangor. Some driver patches a cheap printed flag onto an antenna clip, pulls out onto I-40, and by the time he hits the Oklahoma state line that thing looks like it went through a wood chipper. Frayed edges, faded colors, maybe one grommet still holding. It is not just a waste of money. It is disrespectful to the flag, and every trucker out there knows it.
I spent 30 years on the road, most of it in a Kenworth, and I flew Old Glory the whole time. Four years in the Marines before that. So I take this seriously. The good news is that flying a flag on a semi the right way is not complicated. You just need to do five things in the right order, use the right gear, and understand why 70-mph highway air is a completely different animal than a front-porch flagpole. This guide covers all of it.
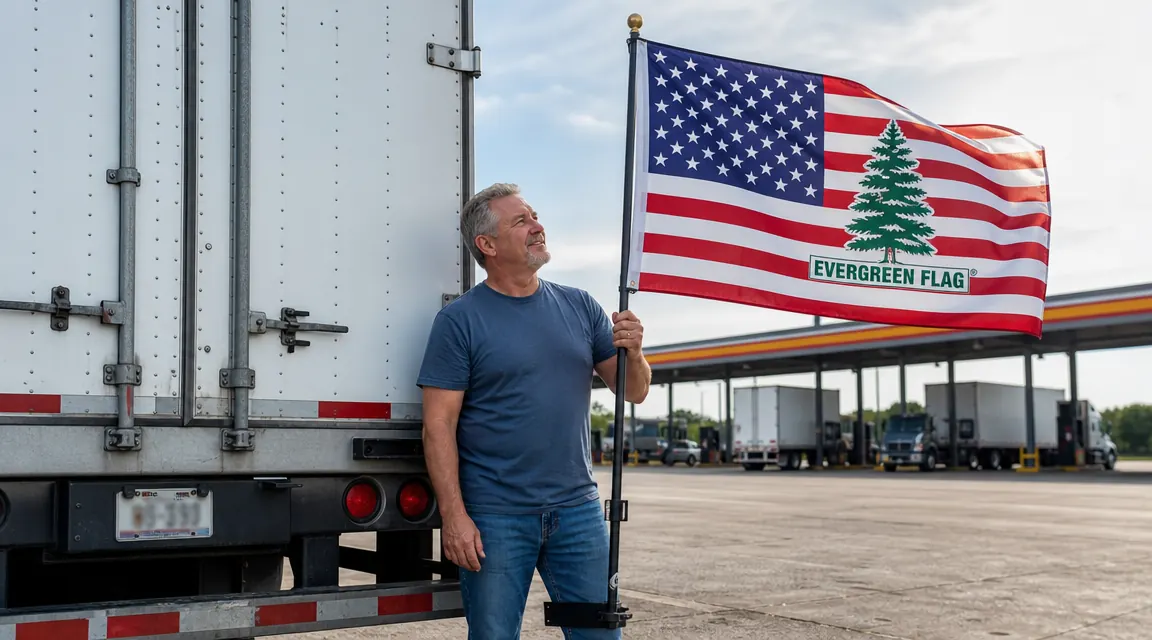
For this guide I am going to use the Evergreen Flag 3x5 heavy duty American flag as the reference flag. It is the one I keep coming back to after testing dozens of options, with embroidered stars and brass grommets that hold up to wind at 70mph. Wherever I name a flag in the steps below, that is the one I mean.
The flag that actually survives highway speed: 4.8 stars from over 10,000 buyers
The Evergreen Flag 3x5 is built with embroidered stars, reinforced stitching on every edge, and solid brass grommets rated for outdoor use. It is the flag I recommend to every driver who asks me what holds up at 70mph.
Amazon Check Today's Price on Amazon →Step 1: Pick the Right Flag for a Big Rig
This is where most drivers lose. They grab the cheapest American flag on the shelf, a thin printed nylon job with sewn-on grommets, and wonder why it is in tatters by the end of the week. A semi truck is not a house. The aerodynamic environment behind a cab is brutal. At 65 mph you are talking about sustained wind loading that a residential flagpole never sees. The flag flexes, snaps, and twists thousands of times per minute. Thin fabric fails at the stress points fast.
What you need is a 3x5 heavy-duty flag, not a 2x3 and not a 4x6 for your first setup. The 3x5 hits the sweet spot between visibility and aerodynamic load. Look for polyester or durable nylon rated for outdoor use, not the thin indoor-grade stuff. Embroidered stars are worth the upgrade over printed ones because the embroidery anchors the fabric and resists wear at the stress points. The Evergreen Flag 3x5 checks all of those boxes and costs about the same as two tanks of windshield washer fluid. With a 4.8-star rating from over 10,000 buyers, most of them outdoors people, it is not a mystery why it keeps selling.
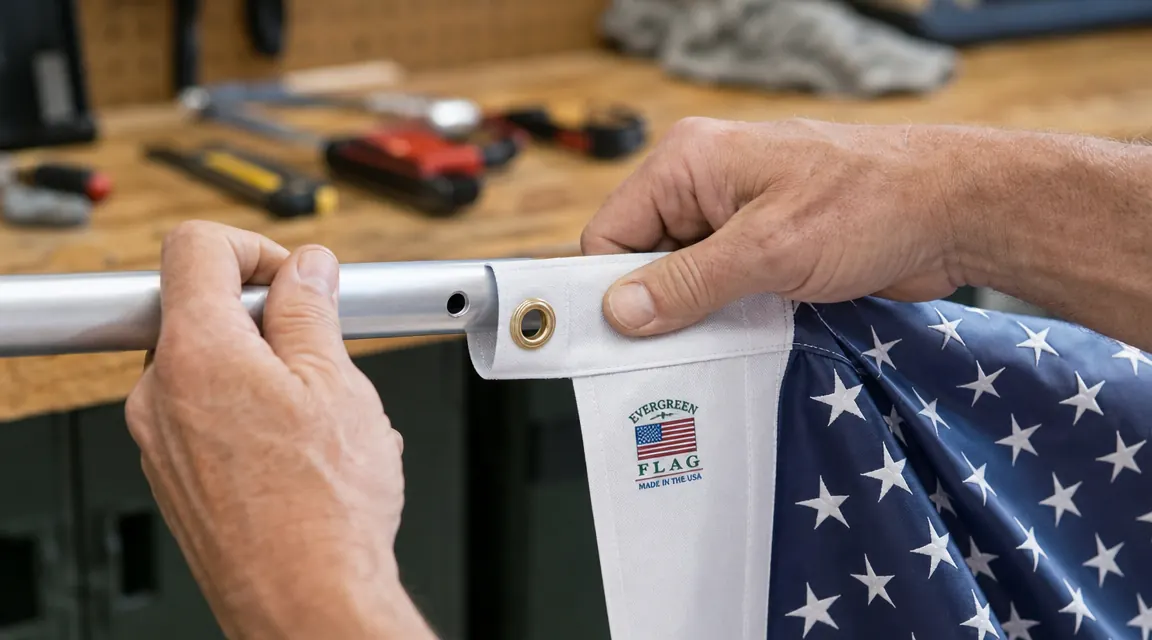
One more thing on the flag itself: brass grommets, not plastic, not aluminum stamped rings. Brass grommets hold their shape under the twisting load a mounted flag puts on the attachment points. If the grommets deform, the flag starts to spin and the fabric tears from the inside out. Check that the grommets are reinforced with a canvas header strip behind them, not just punched through bare fabric.

Step 2: Choose the Right Mount for Your Truck
You have four real options for mounting on a semi: the hitch receiver, an antenna clip, a bed-side rail clamp, or a dedicated cab bracket. Antenna clips are the worst option. They grab the cb antenna or exhaust stack and they vibrate loose within a few hours on rough road. I have watched flags fly off rigs in my rearview mirror more times than I can count, and it is almost always an antenna-clip situation.
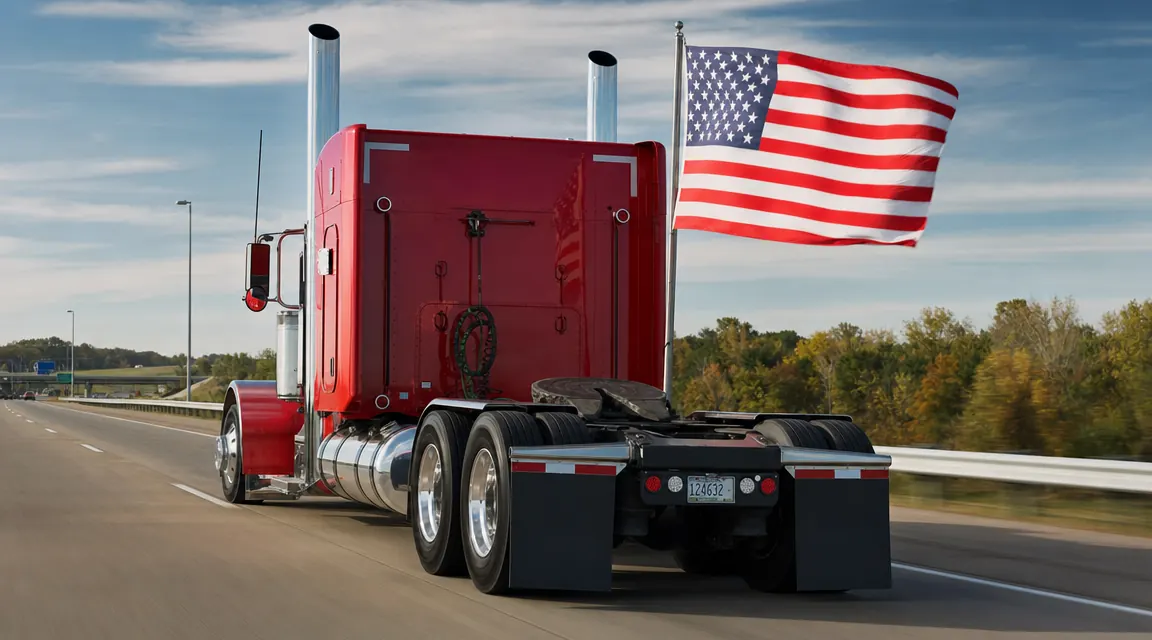
The hitch receiver mount is the right call for most drivers. If your tractor has a 2-inch receiver hitch, a steel flagpole holder drops right in and locks down with set screws. The hitch is a rigid, vibration-resistant connection point, and the flag flies behind the truck where it is fully visible to other drivers. You can read more about comparing mount types in our long-term review of the UniExtra hitch mount setup, which goes deep on the hardware side.
If you do not have a receiver hitch, a good bed-rail clamp bolted to a side rail works, but make sure the clamp is steel with a rubber gasket so it does not chew up the rail finish. Whatever mount you choose, it needs to allow the pole to angle backward at roughly 30 to 45 degrees from vertical. That angle lets the flag fly fully open and reduces the load on the grommets versus a dead-vertical pole.
Step 3: Set the Pole Angle and Height Correctly
This step gets skipped constantly and it is the reason flags tear even when the flag itself is decent quality. If your pole is straight vertical, the flag wraps around it every time the wind shifts, which happens constantly at highway speed. The fabric bunches, stretches, and abrades against the pole itself. Over a few hundred miles that is enough to open up holes along the trailing edge.
The fix is to angle the pole back toward the rear of the truck. Most hitch receiver mounts have an adjustable angle. Set it so the pole leans back at about 30 to 45 degrees from vertical, which means the flag is angling up and back behind the cab. At highway speed the flag will stream fully open and stay out of contact with the pole. This is not guesswork, it is basic aerodynamics, the same reason flagpoles on boats are raked back.
On height, keep it low enough that it does not put you over height at low-clearance docks. The legal maximum overall height for a commercial vehicle is 13 feet 6 inches in most states. A flag pole extending above your cab could put you into violation territory at certain docks and under bridge structures. A 5-foot pole mounted in a hitch receiver at the rear of the truck keeps you well clear of that in most configurations, but check the math on your specific rig.
Step 4: Attach the Flag Correctly at Both Grommets
This sounds basic but I have seen drivers attach a flag at only one grommet and let the bottom flap free, thinking it looks more dramatic. It does not look dramatic for long. A flag attached at only one point spins and twists continuously. The single attachment point gets all the load, the grommet deforms or tears out, and the flag is gone. Attach at both grommets, top and bottom, every time.
Use stainless steel snap hooks, not S-hooks, and not zip ties. Snap hooks lock closed under load and will not work open from vibration. S-hooks back out. Zip ties are one hard gust away from failure. A pair of quality snap hooks costs about three dollars and will outlast multiple flags. Make sure the snap hook is sized so it fits through the grommet with some room to rotate. A snap hook that is too tight will bind against the grommet and accelerate wear at that attachment point.
The top grommet attaches higher on the pole, closest to the tip. The bottom grommet attaches below it. When you do this right, the flag hangs from two points and spreads flat when the air catches it. Orient it so the union, the blue field with the stars, is at the top left when the flag faces forward. That is the correct federal display position for a moving vehicle.
Step 5: Inspect and Maintain After Every Long Haul
A flag flying on a semi truck is not a set-it-and-forget-it situation. After every run of 1,000 miles or more, spend two minutes checking three things: the grommets for deformation or cracking, the edges and corners for fraying, and the snap hook connections for wear. Catch small problems early and you can get months more life out of a flag. Ignore them and you will be buying a replacement inside of a few weeks.
When you are parked for more than a day, especially in high-wind conditions or heavy rain, take the flag down. A flag left up during a 48-hour rainstorm and then allowed to dry twisted around the pole will set creases and stress lines in the fabric that weaken it. If your pole has a swivel base, make sure the swivel is moving freely. A frozen swivel means the flag cannot rotate and the entire wind load goes into the fabric instead of being distributed through rotation.
Clean the flag when it gets road dirty. A quick hand-wash with mild soap and cold water, then hang it flat to dry, is enough. Avoid machine drying. The heat weakens the polyester fibers and fades the colors. A good flag treated right should last a full driving season, and a quality one like the Evergreen Flag will often go two seasons before you start seeing wear at the edges.
What Else Helps
A few extra things I have picked up over the years. First, if you run a lot of nighttime miles, consider adding an LED light to your setup. The flag is a statement in the daytime, but at night most drivers cannot even see it. An LED whip pole solves that and adds to your rig's visibility profile as a bonus. Second, if you are hauling a lot of miles through the Midwest during storm season, consider carrying a backup flag in your cab. Not because quality flags fail easily, but because hail and tornadic wind are in a different category from normal highway conditions and no flag is built for a direct hailstorm.
Third, check state regulations before your first run with a new flag setup. Most states have no restrictions on vehicle flag displays, but a handful have size or placement rules that could come up at a weigh station. A 3x5 mounted behind the cab has never been an issue in my experience, but knowing the rules for your regular corridors keeps surprises out of your logbook.
A flag that holds up for a year on a big rig is not luck. It is the right fabric, the right mount, the right angle, and two minutes of inspection after every run. Four things. That is the whole job.
I have been flying flags on my rigs since before some of these drivers got their CDLs, and the setup I just described has worked consistently. The Evergreen Flag 3x5 is the specific flag I keep coming back to because the build quality is honest. Embroidered stars, reinforced header, brass grommets, solid stitching on the edges. It is not the fanciest flag on the market but it is built for outdoor use and it shows. You can read my full long-term experience with it in the Evergreen Flag review, which covers 18 months and a lot of highway miles in detail.
Ready to set it up right? This is the flag that holds.
The Evergreen Flag 3x5 Estate Size has embroidered stars, reinforced stitching, and brass grommets built for sustained outdoor use. Over 10,000 verified buyers and a 4.8-star rating. If you are going to fly Old Glory from your rig, do it with something that will still be flying six months from now.
Amazon Check Today's Price on Amazon →