I spent 30 years running OTR before I finally retired the keys. Drove a Kenworth W900 out of Tulsa most of that time, then finished out on a Freightliner Cascadia hauling refrigerated freight through the Midwest and Southeast. In all that time, I watched a lot of guys try to fly a flag and get it wrong. Antenna clips that shook loose before the first fuel stop. Bungee cord rigs that lasted one interstate. Flags wrapped so tight around the pole they looked like a sock. If you want Old Glory flying clean off the back of your rig, the right answer is a proper 2-inch hitch receiver flagpole mount. And once you've installed one correctly, the whole job takes about eight minutes at a truck stop.
This guide walks through the full install for the UniExtra hitch mount flagpole holder, which fits any standard 2-inch receiver. Same basic steps apply to most receiver-style mounts on the market. I'll cover the tools you need, the correct torque on the locking hardware, how to set the pole angle so your flag flies horizontal instead of pointing straight up, and how to pull the whole thing in under two minutes before you back into a low-clearance dock.
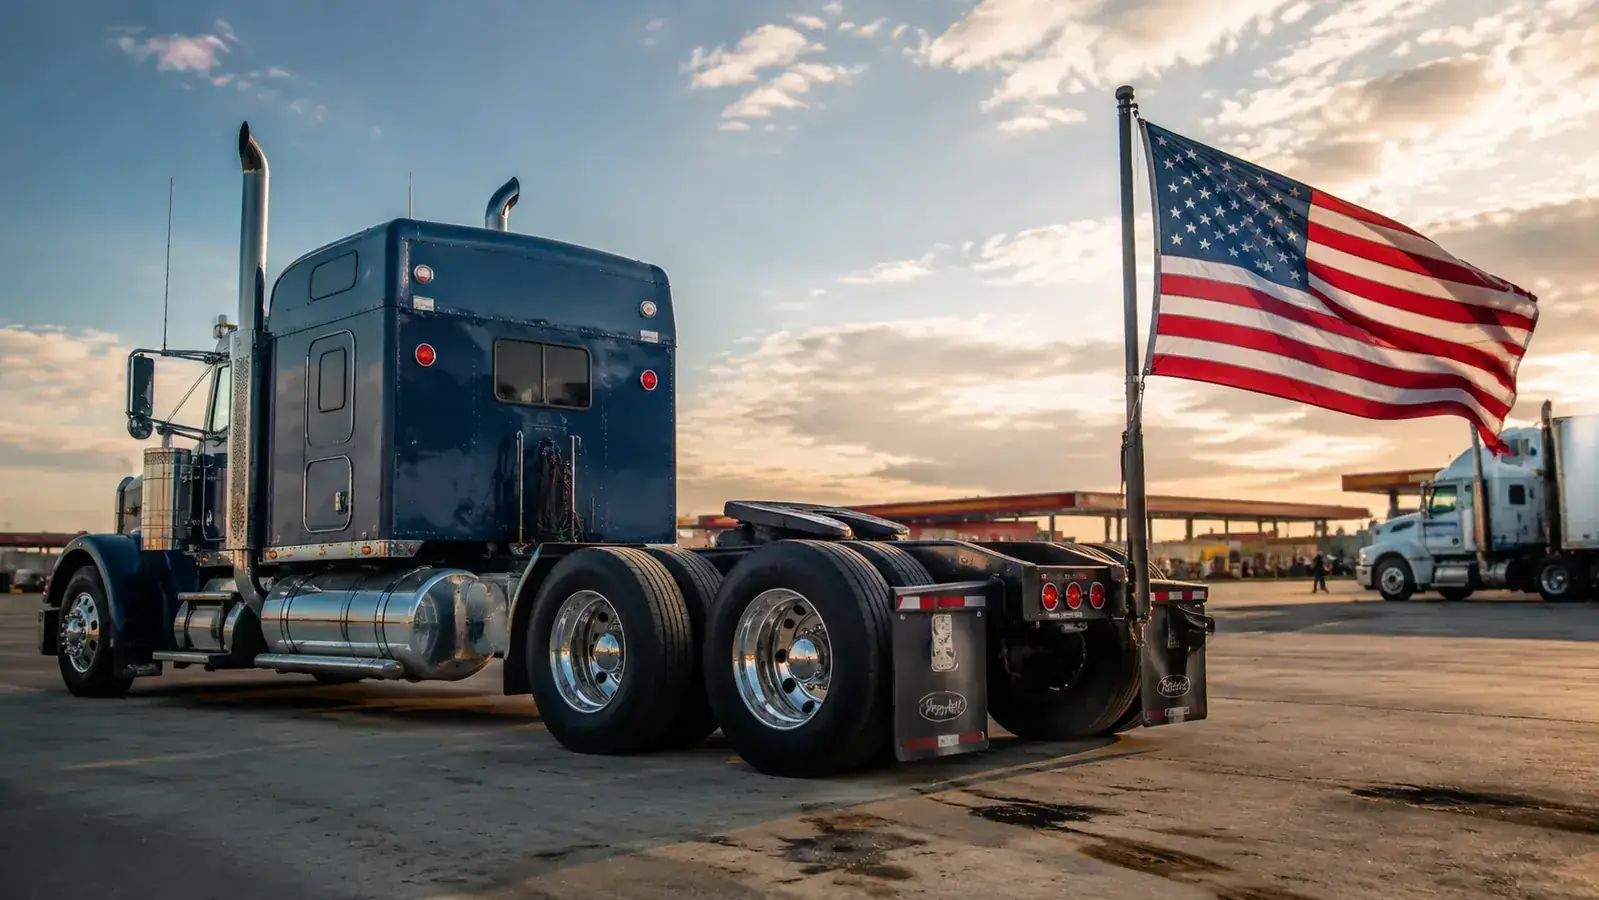
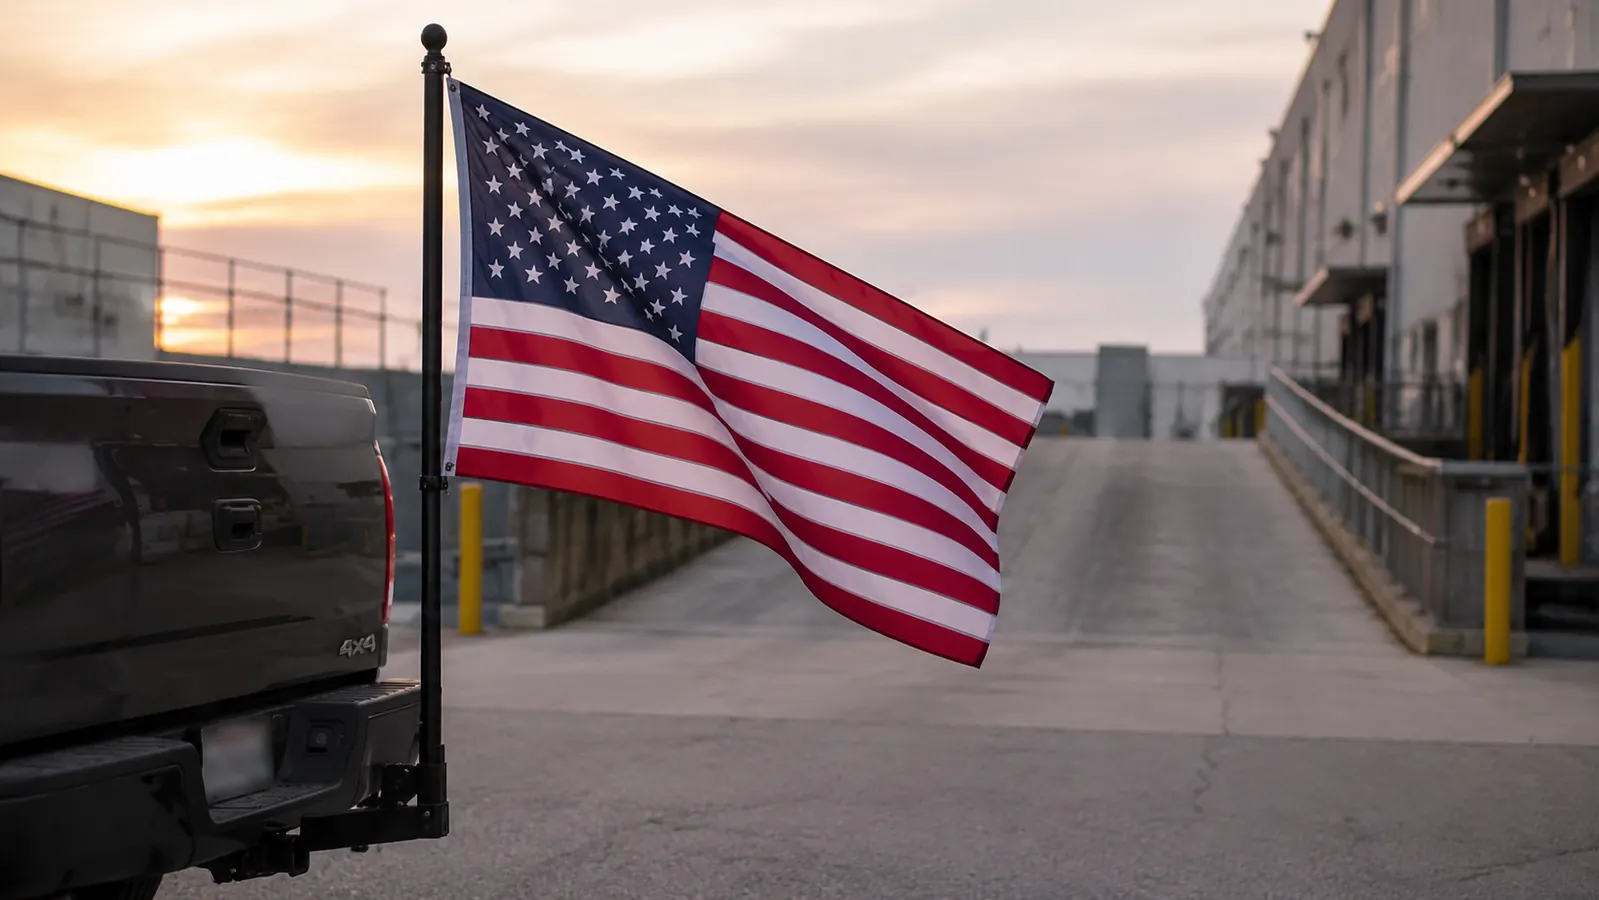
Stop rigging it with bungee cords. This is the hitch mount that stays put at 70mph.
The UniExtra 2-inch receiver flagpole holder is solid steel, fits any standard trailer hitch, and takes eight minutes to install. Over 680 truckers have used it. Check current pricing before you head out.
Amazon Check Today's Price on Amazon →Step 1: Confirm You Have a 2-Inch Receiver on Your Rig
Most semi trucks built in the last 15 years have a 2-inch Class III or Class IV receiver hitch on the rear bumper. On a lot of rigs, that receiver is used for the fifth-wheel hitch approach bumper guard or nothing at all. Before you order any flagpole mount, get under the back of your truck and look. You want a square tube opening that measures 2 inches across on the inside. If it measures 1.25 inches, you have a Class I receiver and you need an adapter. If it measures 2.5 inches, same story. The UniExtra mount is built specifically for 2-inch receivers and that's what 95 percent of production semi trucks have. Most day cabs and sleepers off the dealer lot will be a straight fit.
While you're back there, check whether anything is already living in the receiver, like a step bar, a safety chain hook, or a receiver hitch ball. If something is in the way, the flagpole mount will not seat fully and the locking pin will not clear. Clear out whatever's in there before you start. Takes 30 seconds.
Step 2: Gather Your Tools
You do not need a shop for this job. Here is what you need from your truck toolbox or a truck stop parts counter: a 1/2-inch socket or box-end wrench, a torque wrench if you have one (not mandatory but worth using once), a flathead screwdriver or a coin, and a short length of thread-locking compound like Loctite Blue 243. If you don't have thread-locking compound, tighten the set screws a half turn past snug and check them after your first run. That is not the preferred method but it works on short hauls.
The UniExtra mount ships with its own hex bolts and set screws in a small hardware bag inside the box. Do not lose that bag. If you're one of those guys who tosses the packaging at the dock, tape that hardware bag to the mount itself until you're ready to install. I've seen more than one driver show up at a truck stop with the mount and no hardware.
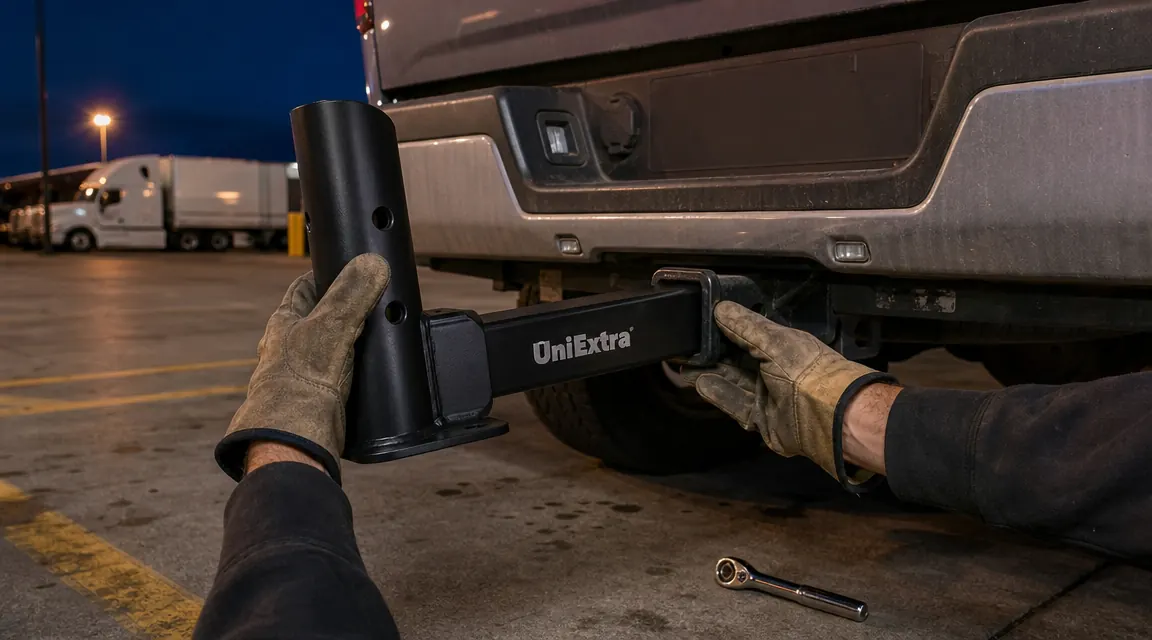
Step 3: Insert the Mount and Set the Locking Pin
Slide the receiver tube end of the UniExtra mount into your 2-inch hitch opening. Push it all the way in until the pin hole on the mount lines up with the pin hole on your receiver tube. On most factory semi-truck receivers, the pin holes are on the side or bottom of the receiver. Look for them before you start sliding. Once the holes are aligned, drop in the hitch pin that came with the mount. If your receiver has a factory cotter pin hole, use a cotter pin or a standard hitch pin clip to lock it from pulling out. The mount should not move fore and aft at all once the pin is seated. If it wobbles, your receiver is worn or the mount is the wrong size.
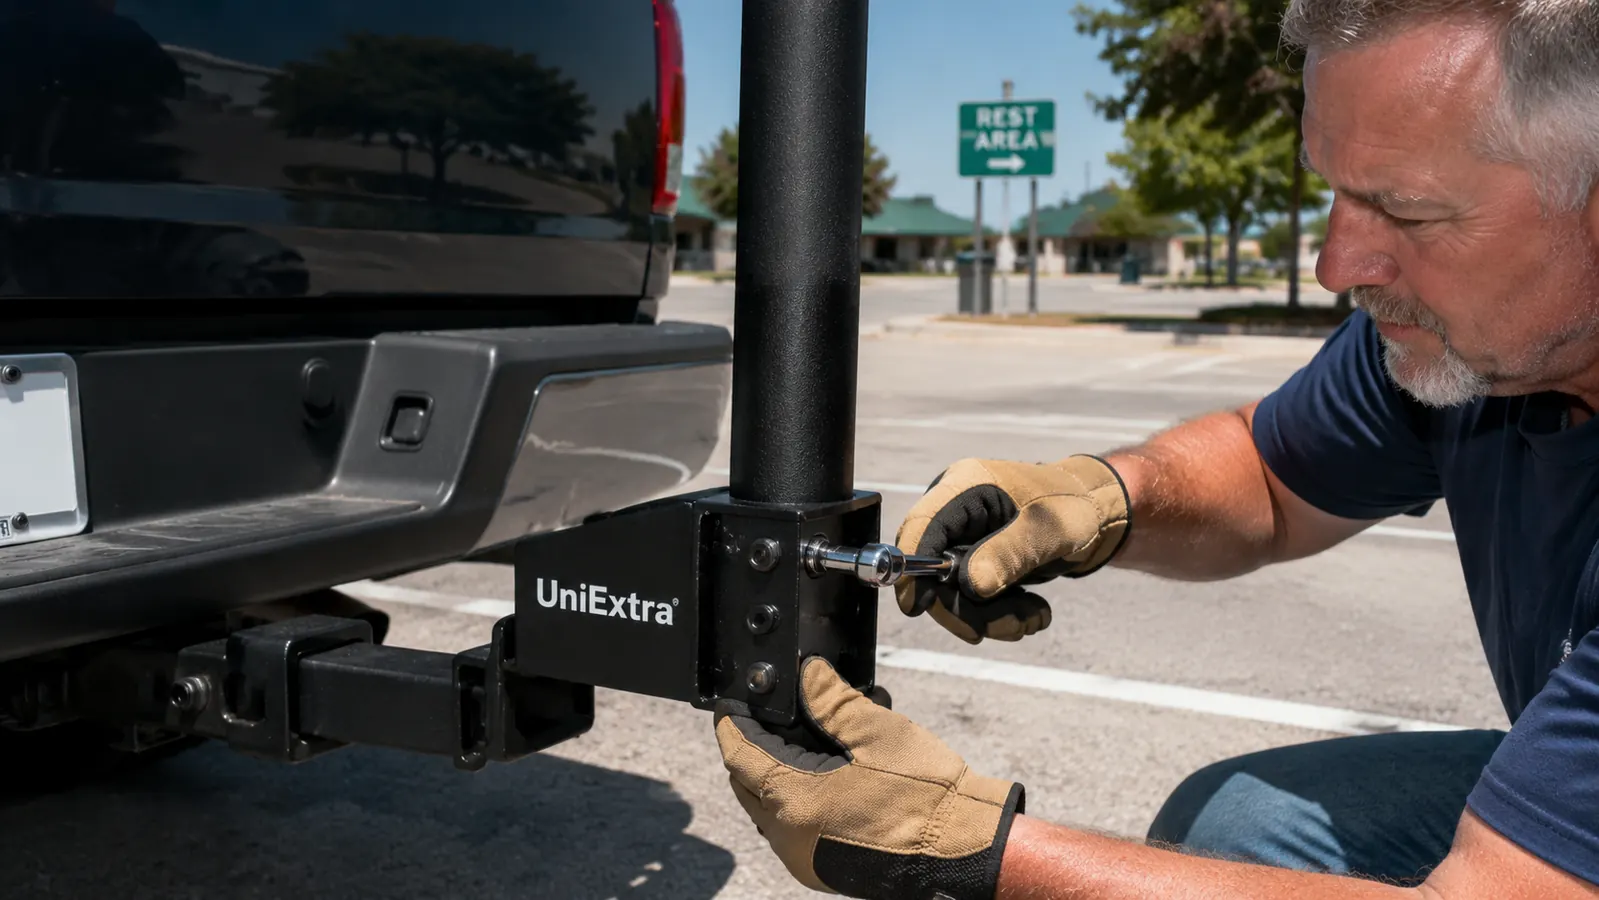
Now take the two set screws from the hardware bag and thread them into the threaded ports on the sides of the receiver tube. These are the anti-rattle screws. Put a drop of Loctite Blue on each thread before it goes in. Run them down by hand until you feel resistance, then snug them with your wrench. The correct torque for 1/4-inch set screws in this application is 6 to 8 foot-pounds. If you're tightening by feel without a torque wrench, snug is where you stop feeling free rotation and start feeling firm resistance. One quarter turn past that point. Do not crank them until the hex head deforms. You'll pull the screws out of the aluminum body and then they're useless.
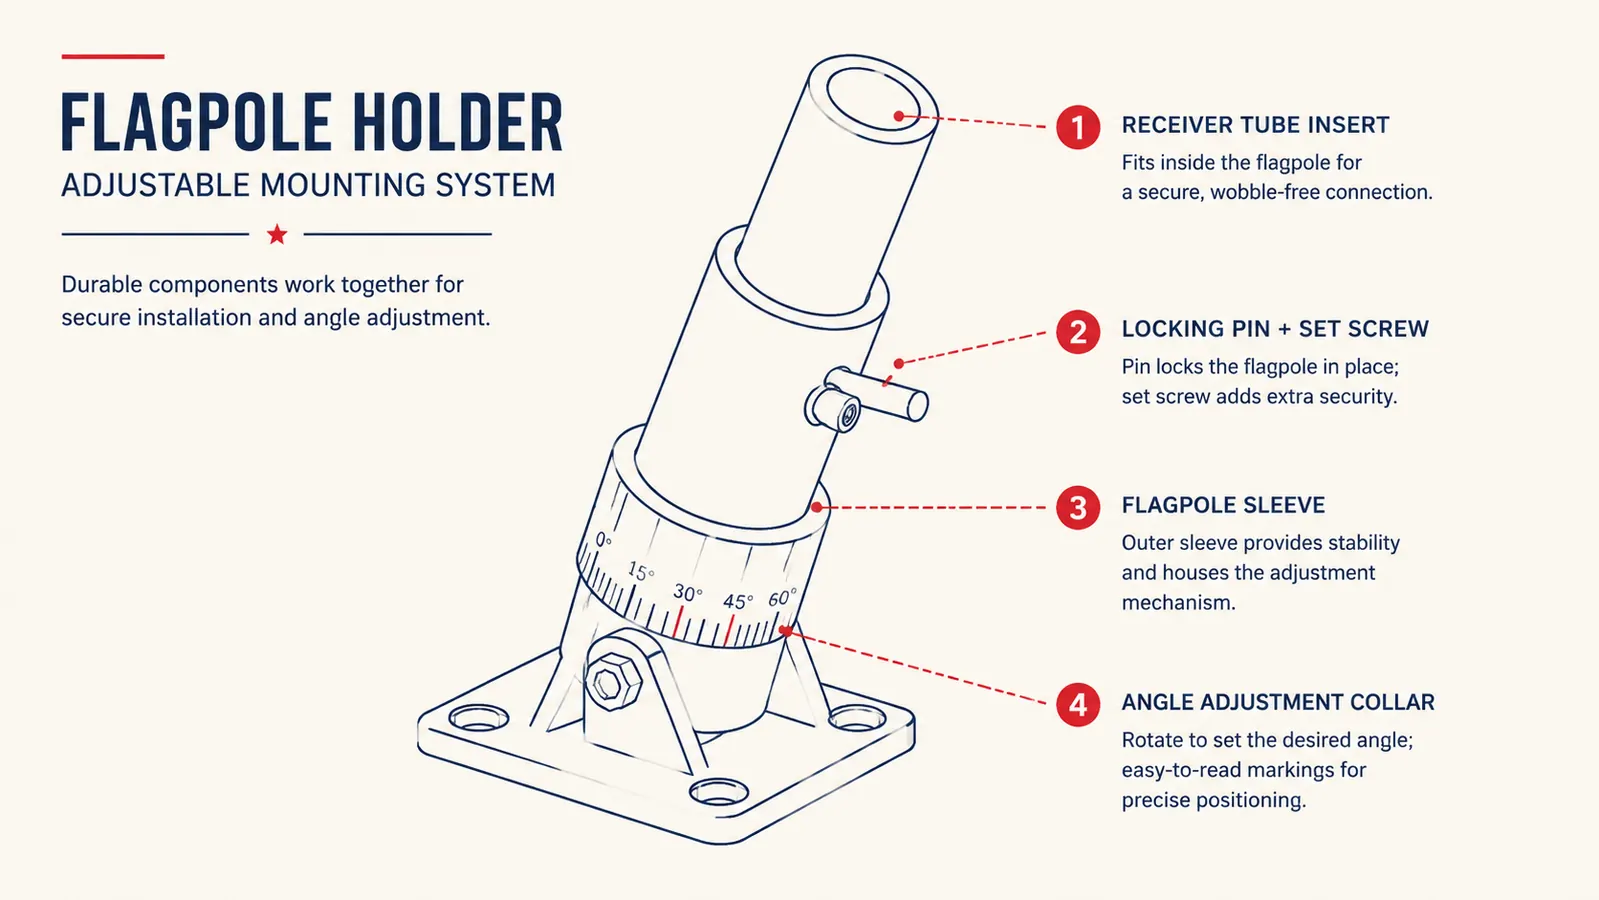
Step 4: Set the Flagpole Angle
This is the step most drivers skip and then wonder why their flag wraps around the pole at 65mph. The UniExtra mount has an adjustable angle collar at the top of the receiver tube that lets you cant the flagpole forward, backward, or straight up. Straight up is wrong for a semi. At highway speed, the wind load on a 3x5 flag running straight vertical is enormous and most of that load lands on the fly hem, which is the loose end. That's how you shred a flag in 300 miles.
The correct angle for a rear-mounted flagpole on a semi is between 15 and 25 degrees forward cant. That means the top of the pole leans slightly toward the front of the truck. At that angle, the highway wind catches the flag and extends it horizontally behind the rig instead of wrapping it around the pole. Loosen the collar lock bolt with your wrench, set the pole to your preferred angle, then retorque the collar bolt to 10 to 12 foot-pounds. Check the angle with your eye from a few feet back. The top of the pole should be visibly tilted toward the cab, not straight up. Lock it there and do not adjust it mid-run.
Set the pole at 15 to 25 degrees forward cant. That one adjustment is the difference between a flag that flies clean for 600 miles and one that wraps itself into a rag by Memphis.
Step 5: Attach the Flag and Do a Pre-Trip Inspection
Slide your flagpole into the sleeve on the UniExtra mount. Most driver-side poles seat with a friction fit and a thumb screw at the collar. Tighten the thumb screw until the pole doesn't rotate. A loose pole will spin in the sleeve and the flag will wrap itself tight within 50 miles. Some truckers add a small piece of rubber grip tape or a few wraps of electrical tape around the pole base for extra friction. That's a good move if you're running in high crosswind territory like the Texas Panhandle or eastern Wyoming.
Attach your flag to the pole using the grommets. The top grommet goes over the top snap hook or tie-off point on the pole. The bottom grommet attaches to the lower snap or a bungee loop if your pole has one. The flag should lie flat against the pole when there's no wind and fly out fully when moving. If it's bunched at the bottom, the lower attachment is too loose. If it's fully taut with no movement, the lower attachment is too tight and you'll tear the canvas header. Snug with a small amount of play is right.
Before you pull out of the lot, stand 10 feet behind the rig and look at the whole setup. The pole should be straight in the sleeve, the flag should hang naturally, and the mount should have zero visible wobble. Push the top of the pole with one hand. If the mount shifts in the receiver even slightly, your set screws are not tight enough or your hitch pin is the wrong size. Fix it before you leave. You do not want to find out the mount is loose at 70mph on a crowded interstate.
What Else Helps
The mount is only half the equation. The flag itself matters just as much. A 3x5 heavy-duty flag with embroidered stars and double-stitched fly hem will outlast a cheap printed flag by a factor of four or five on a semi. The fly hem on a highway flag takes constant stress from oscillation. Budget flags have a single line of stitching there. Heavy-duty flags have two or three. After enough highway miles, you'll see the difference clearly. If you want a flag guide that covers construction details, material weights, and what to look for when you're buying, the article on how to fly Old Glory on a semi truck covers all of that.
Some drivers add a rubber grommet protector around the top grommet where it contacts the snap hook. Available at hardware stores for about $2. Eliminates metal-on-metal wear that eventually tears the canvas around the grommet. Worth doing if you plan to run the same flag for more than one season.
If you run routes with a lot of low-clearance overpasses, rail crossings, or dock entry lanes, get in the habit of pulling the flagpole before you leave your drop point. The UniExtra mount makes this easy. Loosen the collar thumb screw, pull the pole straight up and out of the sleeve, and stow it in your cab or in a tube carrier behind the seat. The mount base stays in the receiver. You're back to flying in under a minute when you're clear of the tight clearances. Do not leave the pole up going into a 13-foot-6 dock approach. I have seen poles shear clean off and I have seen mounts bent sideways. That repair costs more than the whole flag setup.
If you're running in freezing rain territory, check the set screws monthly. Thermal cycling loosens hardware. This applies especially to the angle collar bolt. A 30-second check with your wrench every few fill-ups is all it takes. The full long-term review of the UniExtra hitch mount covers how the hardware holds across multiple seasons and different temperature ranges if you want the extended breakdown.
Ready to get Old Glory flying off your rig the right way? This is the mount to start with.
The UniExtra flagpole holder fits any standard 2-inch receiver, comes with all the hardware you need, and will not shake loose on an OTR run. Hundreds of truckers have put it through its paces. See current pricing and availability.
Amazon Check Today's Price on Amazon →