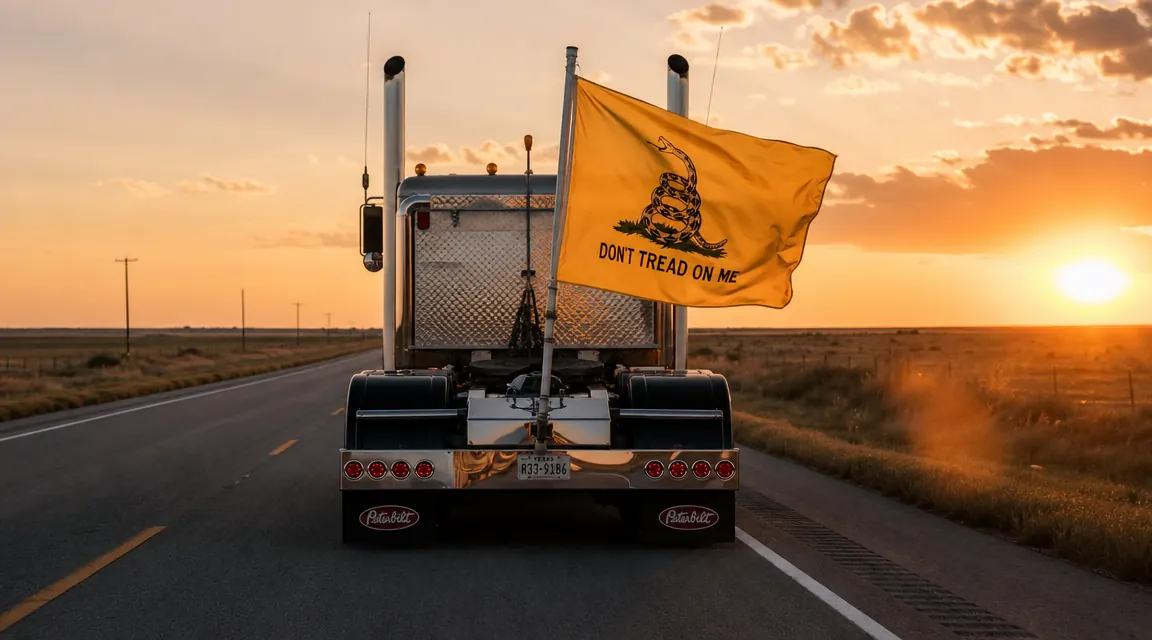
I have watched drivers hang a Don't Tread on Me flag on their rig and lose it somewhere between mile marker 40 and the next fuel stop. Not because the mount failed. The flag failed. It shredded along the fly edge inside of two weeks because whoever made it treated it like a patio decoration, not a piece of fabric meant to take 70mph wind load for thousands of miles straight. That is not a flag problem you can fix after the fact. You have to buy right the first time.
I ran OTR for thirty years, mostly on I-40 and I-10 corridors, and I flew the Gadsden more times than I can count. I have had the snake on my door and on my antenna and on a proper hitch pole. I know what works and what turns into confetti. This guide covers every construction detail you need to check before you buy, and I will tell you exactly which flag I put on my own rig when I am not messing around.
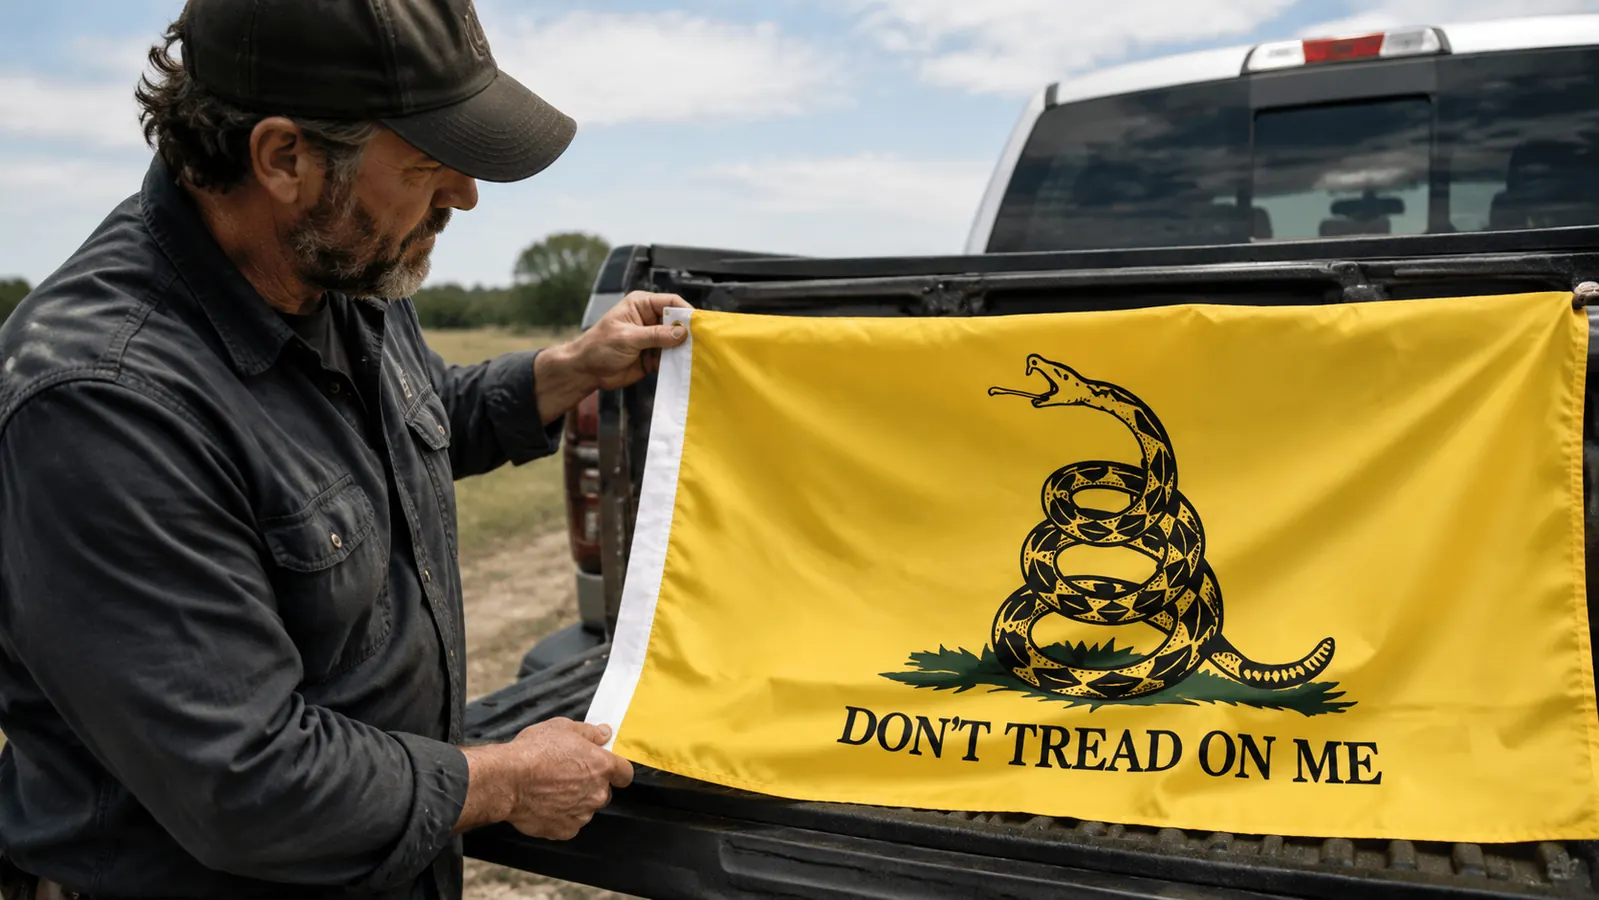
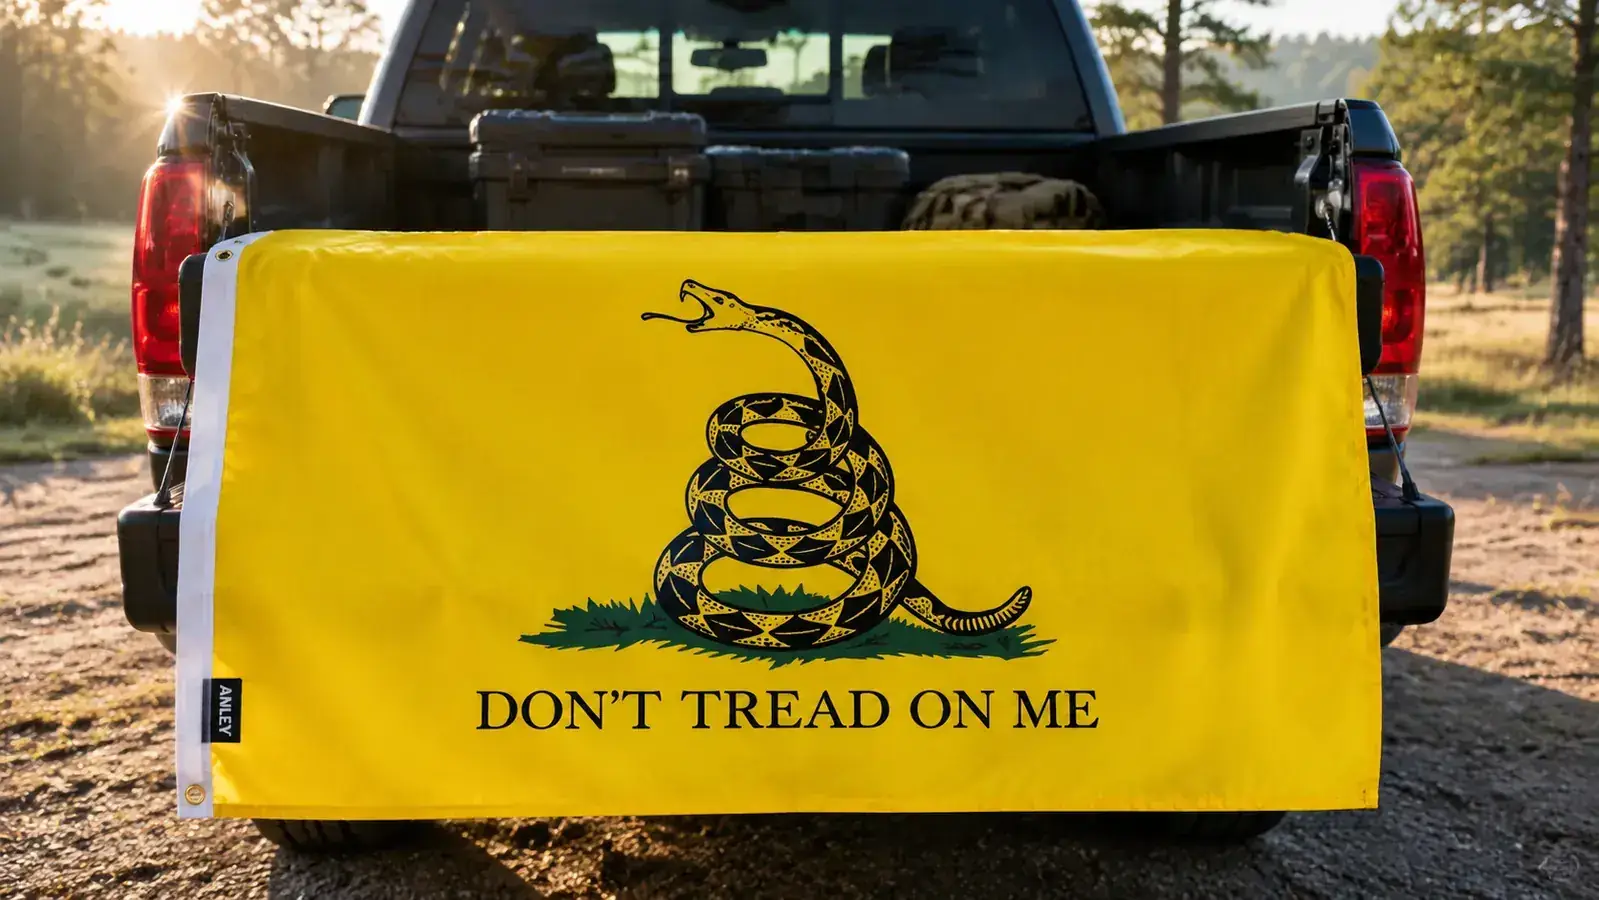
Ready to skip the research? This is the Gadsden flag I put on my own rig.
The Anley Fly Breeze 3x5 Don't Tread on Me flag has over 17,000 reviews and a 4.7-star rating. Canvas header, double-stitched fly edge, brass grommets. It is built for outdoor use at speed. Check today's price on Amazon before it changes.
Amazon Check Today's Price on Amazon →Step 1: Get the Size Right for Your Mount
The standard 3x5 foot flag is the correct size for a semi truck. I know some drivers try to go bigger with a 4x6 or a 5x8, thinking more visible is better. On a semi, bigger is not better. A larger flag at highway speed creates more drag load on your pole and mount hardware. That puts more stress on the grommets, more stress on the header, and more strain on whatever you used to hold the pole in place. A 3x5 flies clean and visible at 65 to 75 mph without acting like a parachute trying to pull your mount out of your receiver.
If you are running an antenna-clip setup, drop to a 2x3. Antenna clips are not designed for the torque of a full-size flag at speed. The clip flexes, the flag wraps around the antenna, and you end up with a knotted rag before you hit the state line. Use a 2x3 on antenna clips or, better yet, upgrade to a proper 2-inch hitch receiver mount and fly a full 3x5 the way it was meant to be flown. For most drivers reading this, the 3x5 Anley is what you want.
Step 2: Know Your Fabric Options and Pick the Right One
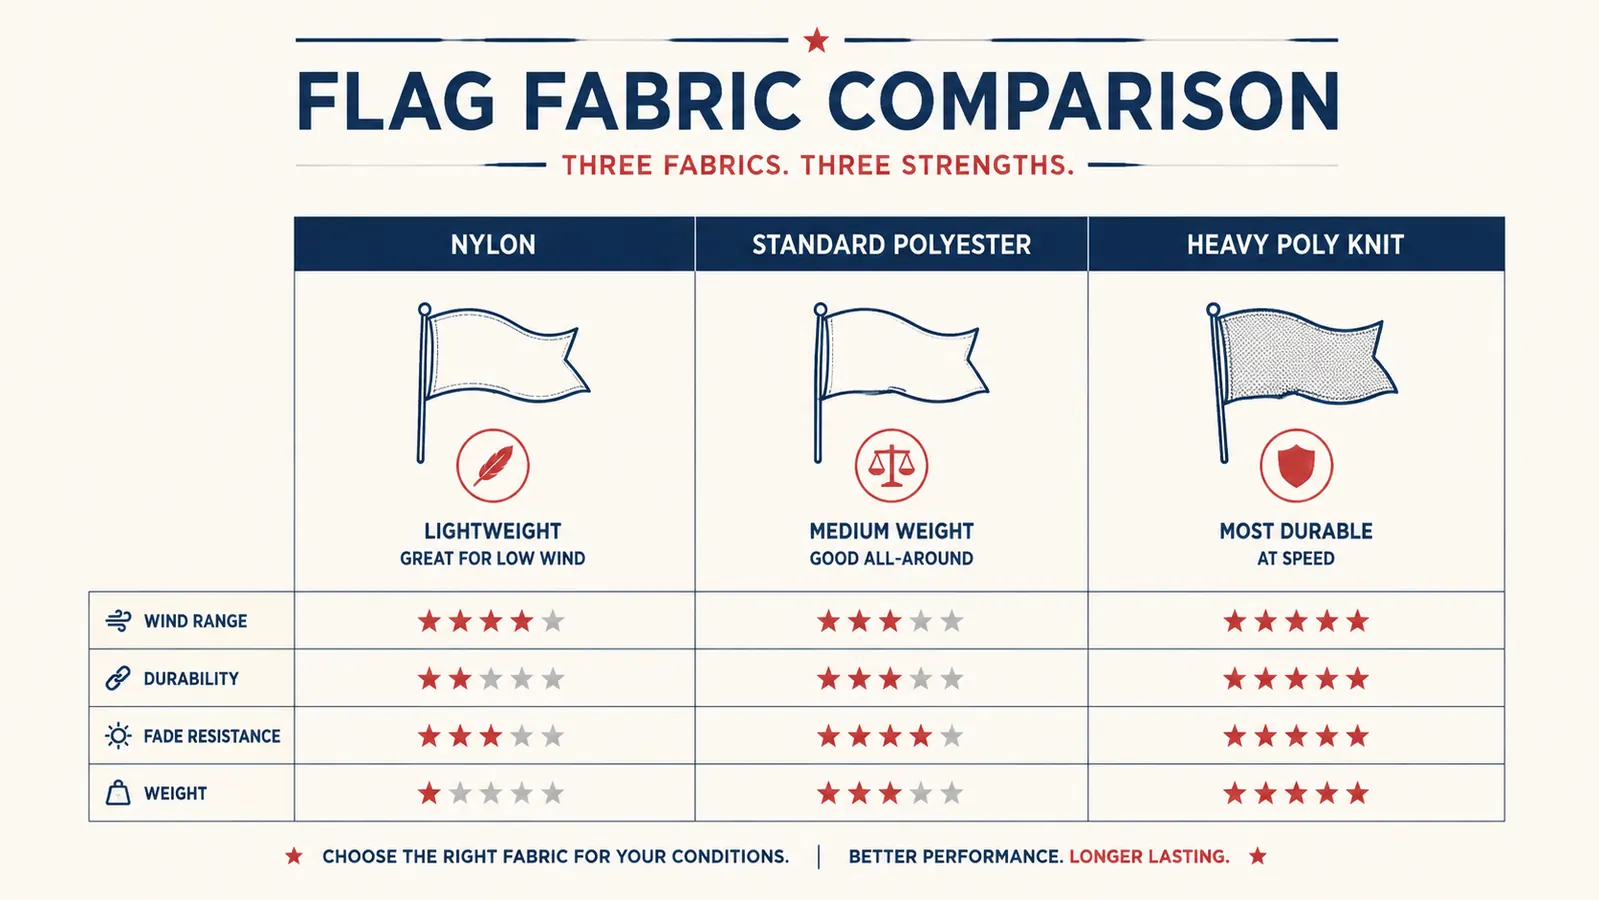
Most flags you find on Amazon come in three materials: nylon, standard polyester, or heavy-duty polyester knit. Nylon is light and works great in gentle residential wind but it is too thin for sustained highway exposure. The material wears fast under the UV load you get in the desert Southwest, and the edges begin to fray before the snake has any business looking that tired. I have seen nylon flags go translucent from sun fade in a single summer season on a rig running Texas to California.
Standard polyester is your baseline truck flag fabric. It is heavier than nylon, holds color better under UV, and takes road grit without degrading as fast. The Anley Fly Breeze is made from this material, and it is what I recommend for most OTR drivers. You get a flag that looks sharp, resists fading, and does not cost you more than a lunch stop. Heavy polyester knit is available from specialty makers and is genuinely more durable, but it costs three to five times more and is overkill for most applications unless you are running desert routes year-round.
Step 3: Inspect the Header Construction Before You Buy
The header is the reinforced strip along the hoist edge of the flag, the left side that attaches to the pole. This is the most stress-loaded part of the flag. Every bit of wind force pulling against the flag concentrates right here. A cheap flag has a header made from a single layer of the same thin fabric as the body, maybe with a hem stitched down. That construction fails. The stitching separates, the grommet tears through the fabric, and the flag is gone.
What you want is a canvas header. Canvas is a heavier woven material, usually cotton or a cotton-poly blend, that is sewn as a separate strip along the hoist edge. The canvas distributes the load across a wider section of fabric instead of concentrating it at the grommet holes. The Anley Fly Breeze uses a canvas header and it is one of the main reasons the flag holds up where cheaper options do not. When you are reading listings, look for the words canvas header specifically. If the listing just says reinforced or double-layered without specifying canvas, assume it is just extra layers of the same thin polyester.
Step 4: Count the Stitching Rows on the Fly Edge
The fly edge is the free edge of the flag on the opposite side from the grommets. It is the edge that whips in the wind constantly. This edge takes more wear than any other part of the flag. A single-row hem on the fly edge will start to unravel within a few weeks of highway use. You want double stitching on the fly edge minimum. Look at the product photos and zoom in on that edge. You should see two parallel rows of stitching. Some flags show triple stitching on the fly edge, which is even better.
The Anley is double stitched on all four edges, not just the fly edge. That matters because the bottom edge also takes punishment from the whipping motion of the flag at speed. Four-edge double stitching is the mark of a flag that was engineered for outdoor durability rather than display-only use. Do not buy a flag that only lists reinforced corners or reinforced grommets without also specifying stitching along the edges themselves.
The header and the fly edge are where every flag lives or dies. Canvas on the header, double stitching on the edges. If the listing skips mentioning those two things, so should you.
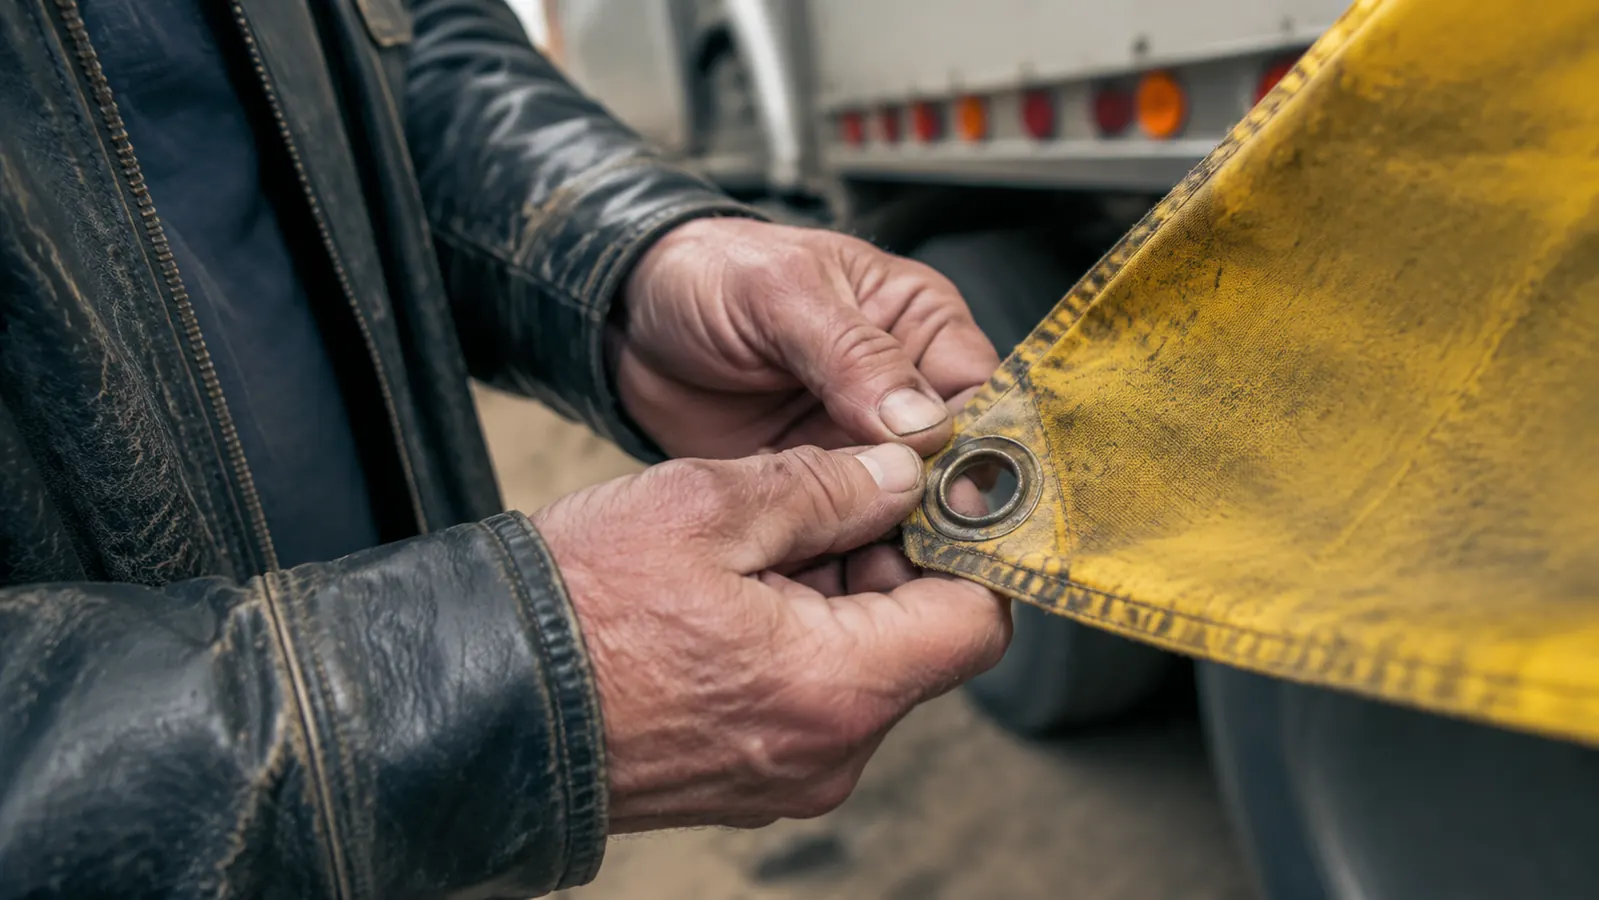
Step 5: Check the Grommet Material and Placement
Grommets are the metal rings that your rope or clip hooks through to attach the flag to the pole. Cheap flags use zinc or aluminum grommets. They look fine in the listing photos but they rust fast, especially if you are running the Gulf Coast corridor or anywhere humidity is high. Rust stains the flag and weakens the grommet ring over time until it cracks or the ring pulls through the fabric. You want brass grommets. Brass does not rust. The Anley uses solid brass grommets and it shows in the way the attachment points hold up over time.
Grommet placement also matters. The two grommets should be evenly spaced along the header, not crowded toward the center. If the grommets are too close together, the flag does not hang level at speed and tends to spin or twist around the pole. The standard placement is one grommet near the top of the header and one near the bottom, giving you the maximum span to stabilize the flag. Check the listing photos and verify the grommets are near the header edges, not bunched in the middle.
Step 6: Understand Print Quality and Why It Matters at Distance
The Gadsden flag has three elements that need to read clearly at distance: the yellow field, the coiled rattlesnake, and the words Don't Tread on Me. On a moving truck at highway speed, a driver approaching from behind gets maybe three to five seconds of visible time on your flag. If the rattlesnake is muddy or the text is fuzzy because it was screen-printed with a thin ink layer, nobody knows what they are looking at. You want the image to be sharp and the contrast between the snake and the yellow field to be strong.
The Anley uses a vibrant dye process that keeps the snake's detail crisp and the field color a clean golden yellow rather than a washed-out pale. Fade resistance matters here too. UV degrades print quality over time on any flag, but a good dye process holds the original color significantly longer than cheap direct-print methods. After two years of flying an Anley on my rig, the snake is still recognizable and the field is still yellow. That is not a claim I can make about every Gadsden I have put to the same test.
What Else Helps
Once you have the right flag, the mount matters almost as much. A flag attached to a cheap antenna clip on a full-size 3x5 will destroy itself faster regardless of construction quality. A proper 2-inch receiver mount with a tight-fit flagpole keeps the flag at a consistent angle relative to the wind rather than allowing it to spin and wrap. If you are not already running a good hitch receiver mount, that is your next investment after the flag itself. A good flag on a bad mount still fails. A good flag on a proper mount can last two years or more in regular highway service.
You should also store the flag when you are parking for extended periods in direct sun. UV is the long-term killer of any flag fabric, and a flag left flying in a sunny lot for three days while you are on home time ages faster than one that logs the same hours on the road. Roll it up when you are not rolling. It takes thirty seconds and adds months to the flag's service life. For more on how to fly Old Glory properly alongside your Gadsden, see our full guide on how to fly Old Glory on a semi truck.
For a deeper look at how the Anley Gadsden holds up over multiple seasons, including the specific wear patterns I tracked on my own flag, read my long-term Anley Don't Tread on Me flag review. I tracked the header stitching, grommet condition, and color at six-month intervals. The data tells a cleaner story than a single impression after unboxing.
You now know exactly what to look for. The Anley checks every box.
Canvas header. Solid brass grommets. Double stitching on all four edges. Vivid fade-resistant print. 4.7 stars from over 17,000 buyers. At the current price, there is no reason to gamble on a no-name flag that will shred before you hit the next state line.
Amazon Check Today's Price on Amazon →